
You may not need to learn programming to vibe code your way to glory—or the next Facebook. But you will thank me when things go sideways after you’ve vibed just a little too much and your AI agent casually breaks your entire website.
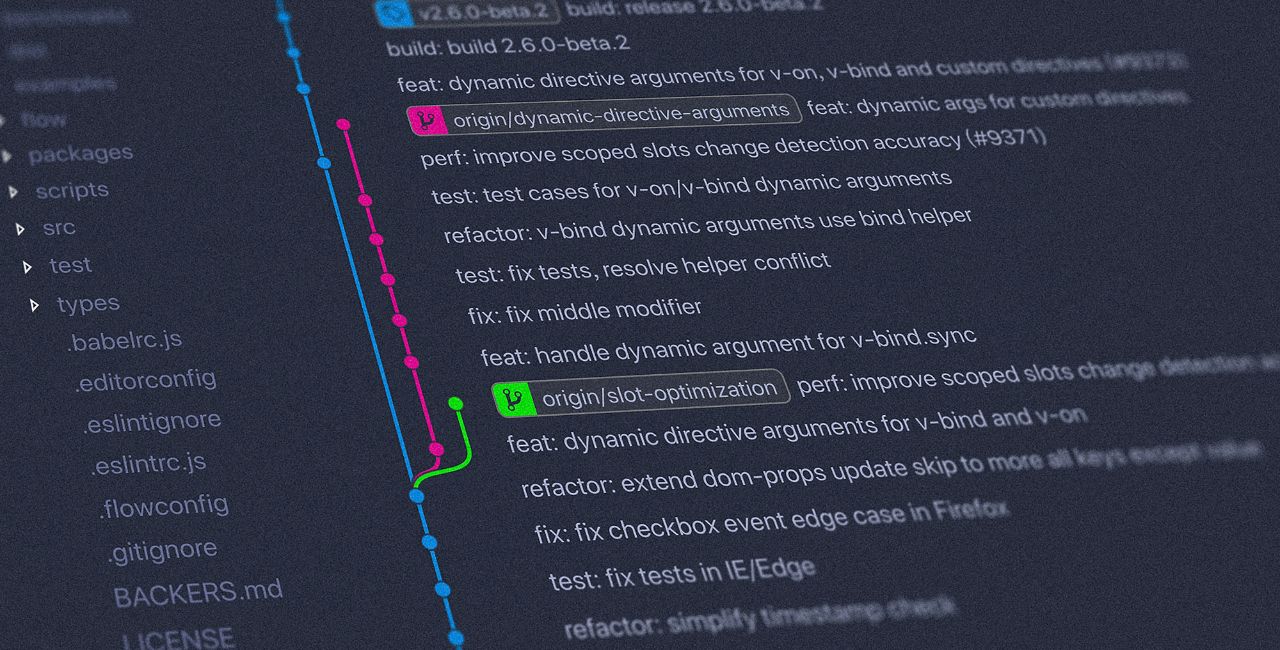
Git is a better “restore checkpoint” button that you frantically try to find when Cursor gets too carried away with your lazy prompts; I mean, vibes. Git can do a lot, but trying to learn it all or, god forbid, read the documentation is, as we both know, a futile exercise. Instead, I will get you to learn enough Git through a five ten thirteen?-minute interactive guide before your TikTok brains can take over.
NOTE
It isn’t unlikely that your IDE (the app where you vibe code) comes with a graphical interface (GUI) for Git. But it is worth your time to learn the basic Git commands before jumping to a GUI abstraction.
I don’t really know if you would bother learning Git when you didn’t bother to learn programming. But I do know learning Git prevents you from embarrassing yourself online:
they should invent a tool where vibe code can be stored in the cloud so from time to time you do a “checkin” of your code and you can always revert to it and go to a previous version
like a … hub for code
I know, I know—this tweet was a joke. But honestly, I can’t wait for what vibe coders will come up with next!
Install Git
It isn’t unlikely that you already have Git installed on your computer.
To check, open Terminal (on macOS) or Command Prompt on Windows and type:
git version
If it shows you a version number like the one above, you already have Git installed and are ready to follow the rest of the guide.
NOTE
This guide is interactive, meaning you can click the “Run” button to run the Git command on a computer living in the cloud. Show me how!
Everything you learn from this guide has been abstracted into a button.
If Git isn’t installed, follow this guide to install it before you jump to the next part of the guide. You can also run these examples on the browser and install Git later.
git config
You can start by configuring your username and email address. I usually configure this globally with the --global flag:
git config --global user.email jane@acme.com
git config --global user.name "Jane Doe"
This tells Git who you are, and every time you “commit” your code, Git will record your name and email as the author of the commit.
We’ll learn more about commits shortly.
git clone
One of the first commands you need to know is git clone. It lets you clone the dope code you found on GitHub to your computer.
This tutorial uses a React-based web app as an example. But the same ideas apply to any software project you have.
To clone a project, run:
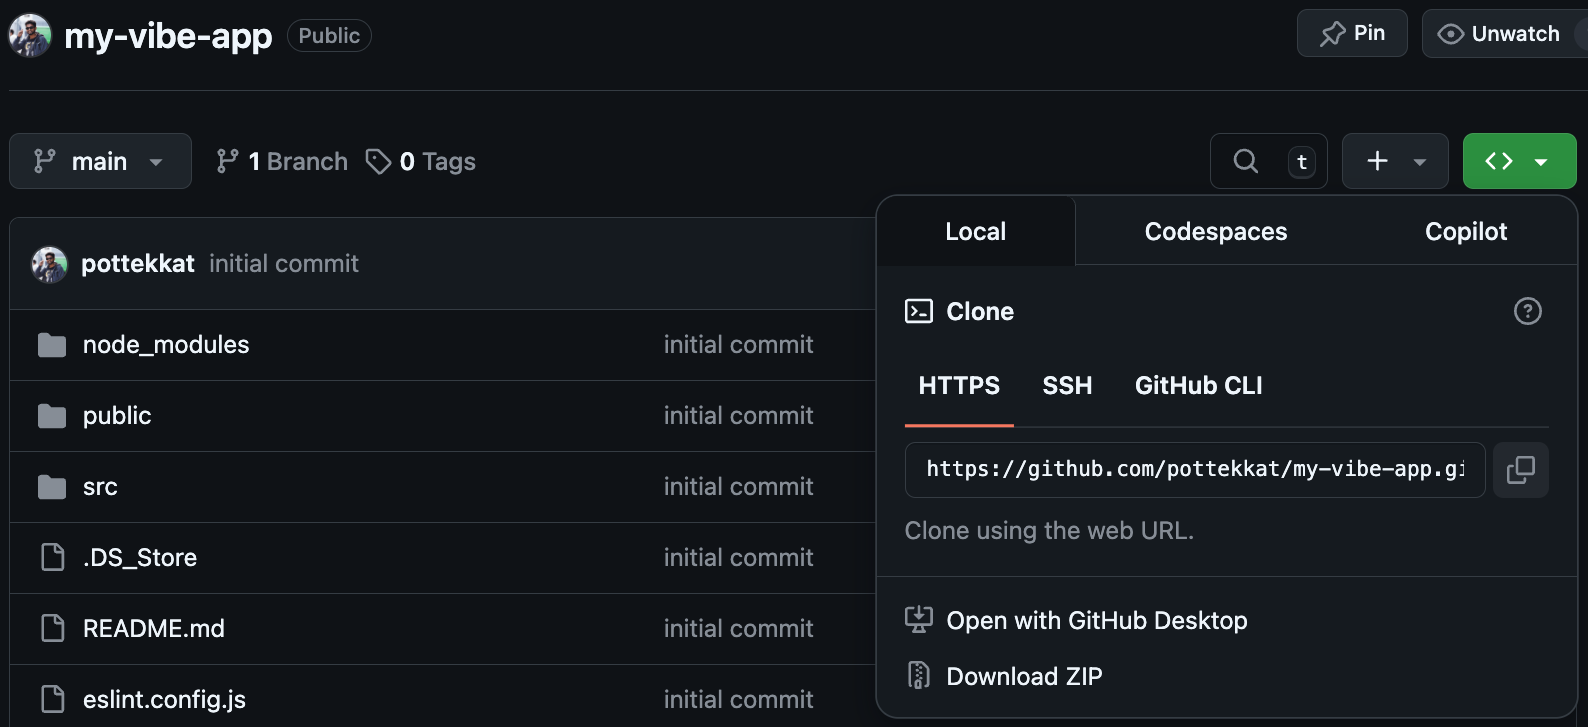
git clone https://github.com/pottekkat/my-vibe-app.git
You can similarly clone any repository (public or private repositories you have access to) by swapping the URL.
You are a coder; you do not click the “Download ZIP” button. That’s for normies.
The example, my-vibe-app contains the following files:
tree
Which is just the boilerplate React app.
Before we move on, Git and GitHub. What’s the difference?
Git is a tool you run on your computer to track changes to your code/files.
GitHub is an entirely different service that hosts Git repositories in the cloud to share and collaborate. Alternatives to GitHub, like GitLab or Bitbucket, do the same thing, but GitHub is just more popular.
git init
But you are no thief! You are not “cloning” someone else’s project. You are a visionary who ONLY builds things from scratch (although the AI you use is trained on the free labor of hundreds of thousands of developers).
Before you lean into the vibes and go on your “Accept all” spree, it would be safer if you started using Git. You can initialize Git on your project folder:
git init -b main
This is equivalent to saying, “Hey, Git, start keeping track of changes in my project folder.” Your boring folder is now a Git repository.
There’s also a cryptic flag, -b main. Here, the -b stands for “branch”, and main is the branch name. i.e., We initialize the Git repository with a new branch named main.
The main branch will be our default branch. To experiment/surrender yourself to the vibes and click “Accept all,” you can create a new branch called, say, feature. Now, any changes you make will be local to the feature branch and won’t affect the main branch, allowing you to roll back changes or eventually “merge” (accept) the changes to main if it works.
You will learn about branching and merging later, but for now, all you need to know is you have Git working in your project repository.
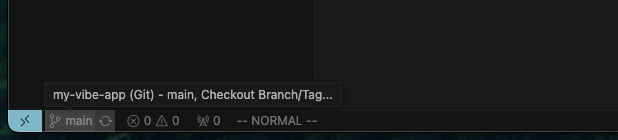
git status
To check if you have Git set up, run:
git status
It gives us a lot of useful information:
- The branch we are on (
main). - The list of “untracked” files and, as we will see later,
- The “staged” files.
- The ignored files and more.
Once you understand how to use Git, this GUI becomes more intuitive.
We will be using the git status command a lot to check the status before running a Git command.
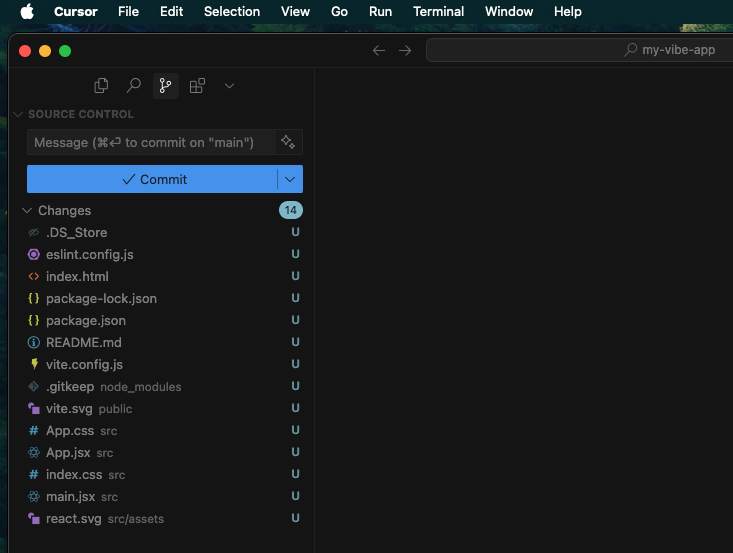
git add
Let’s start tracking the files. If you look at the output from the git status command, you will see a mention of a git add command. The git add command lets you “stage” files.
Staging sounds a lot more complicated than it really is. Imagine you are a chef:
- You are working in a kitchen (your project folder)
- You have a bunch of ingredients lying around (your files)
- You want to prepare a dish (a “commit”; we will learn this later)
Before preparing the dish, you lay out all the ingredients you will use on a prep table. This prep table is the staging area.
Let’s just add all files to the staging area for now. This can be done as shown below:
git add .
Now, if you check the status:
git status
The “Untracked files” are now “Changes to be committed.”
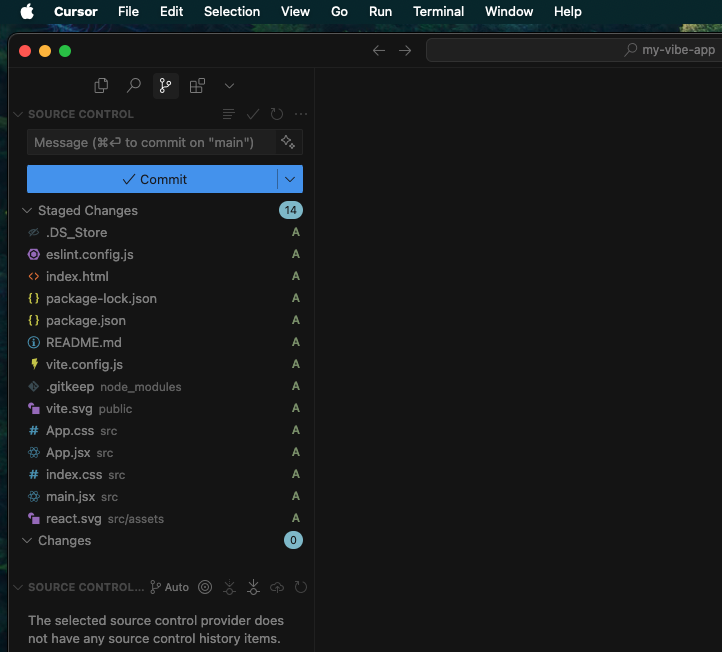
“Changes” are now “Staged Changes.”
You can also choose which files to stage instead of staging all files. We will look into it more later.
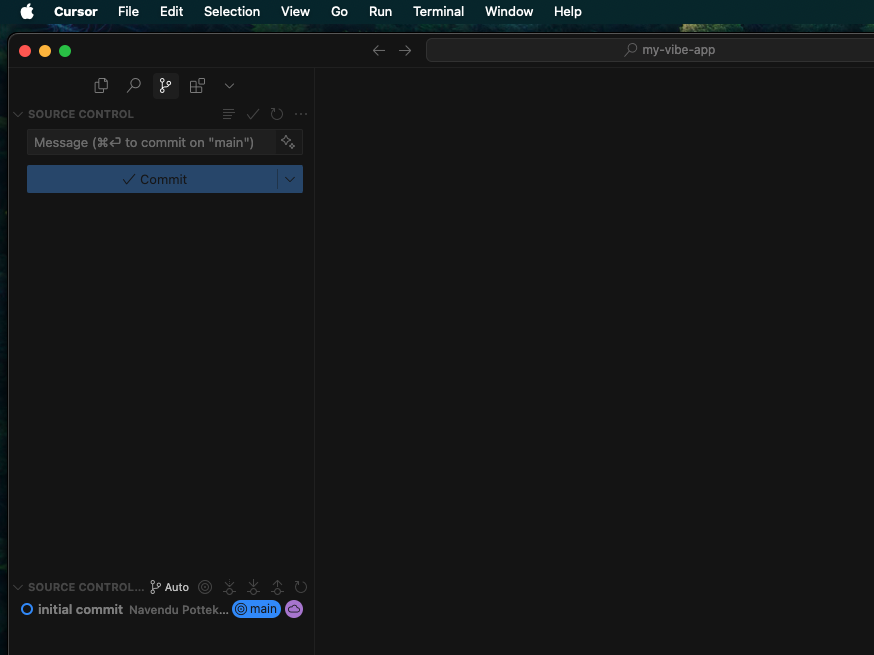
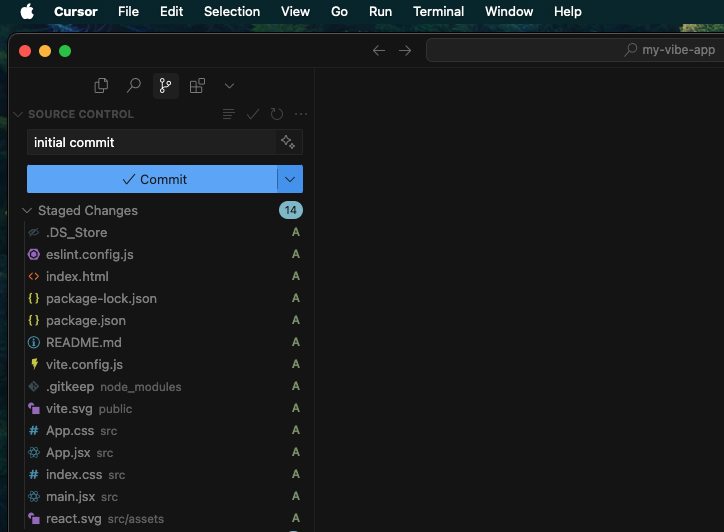
git commit
Now that your files are staged—laid out neatly on your chef’s prep table—it’s time to cook. Committing files is saying, “Git, lock in; I want to save this moment in time.”
To commit the staged files, run:
git commit -m "initial commit"
The -m flag stands for “message.” This is your short diary entry for the change. Write a message that makes sense when you look back in three months when your project is on fire (it is not fire 🔥, it is on fire 🧯). Since it is our first commit, “initial commit” works.
While I preach to write good commit messages, most of mine are just fixes. Of course, when things break in the future, I’m well and truly fu—
If your project ever breaks in the future, you can come back to this exact moment, this exact commit, and be like:
Ah yes, simpler times. The vibes were pure then.
Now, if you check the status, you will see a clean “tree”:
git status
You’re now versioned and vibin'.
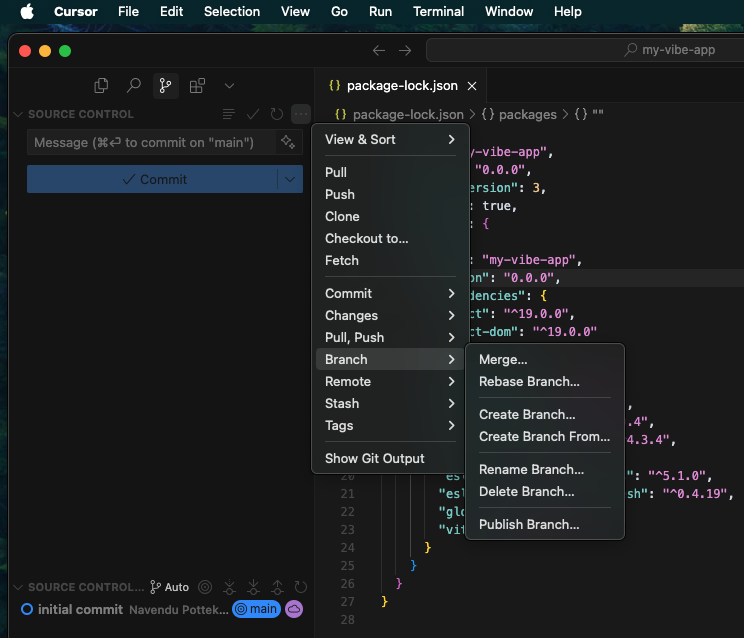
git branch, checkout, diff
You’ve got your main branch. It’s clean. It works.
But now you want to add a new feature.
Are you about to mess up your perfectly fine project?
Absolutely not.
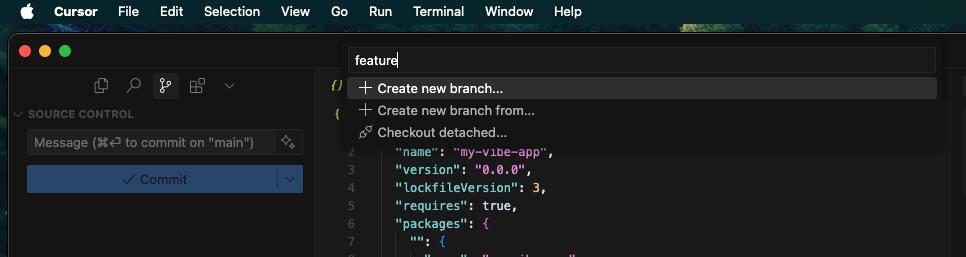
Instead, you create a new branch—a safe space where you can vibe freely without breaking the main project.
To create a new branch called feature, run:
git branch feature
Then switch to it from the main branch:
git checkout feature
TIP
You can create a new branch and switch to it in a single command:
git checkout -b featureTrust me, you don’t want the carpal tunnel syndrome from typing that extra line.
This is the current branch you’re on.
You can also use this to switch between different branches
Let’s make a slight change in the code. For example, I will just update the <h1> header in the src/App.jsx file:
import { useState } from 'react'
import reactLogo from './assets/react.svg'
import viteLogo from '/vite.svg'
import './App.css'

function App() {
  const [count, setCount] = useState(0)

  return (
    <>
      <div>
        <a href="https://vite.dev" target="_blank">
          <img src={viteLogo} className="logo" alt="Vite logo" />
        </a>
        <a href="https://react.dev" target="_blank">
          <img src={reactLogo} className="logo react" alt="React logo" />
        </a>
      </div>
-     <h1>Vite + React</h1>
+     <h1>My Vibe App</h1>
      <div className="card">
        <button onClick={() => setCount((count) => count + 1)}>
          count is {count}
        </button>
        <p>
          Edit <code>src/App.jsx</code> and save to test HMR
        </p>
      </div>
      <p className="read-the-docs">
        Click on the Vite and React logos to learn more
      </p>
    </>
  )
}

export default App
# Check if directory exists, create if needed
mkdir -p src
# Create modified App.jsx file with changed h1 tag
cat > src/App.jsx << 'EOF'
import { useState } from 'react'
import reactLogo from './assets/react.svg'
import viteLogo from '/vite.svg'
import './App.css'

function App() {
  const [count, setCount] = useState(0)

  return (
    <>
      <div>
        <a href="https://vite.dev" target="_blank">
          <img src={viteLogo} className="logo" alt="Vite logo" />
        </a>
        <a href="https://react.dev" target="_blank">
          <img src={reactLogo} className="logo react" alt="React logo" />
        </a>
      </div>
      <h1>My Vibe App</h1>
      <div className="card">
        <button onClick={() => setCount((count) => count + 1)}>
          count is {count}
        </button>
        <p>
          Edit <code>src/App.jsx</code> and save to test HMR
        </p>
      </div>
      <p className="read-the-docs">
        Click on the Vite and React logos to learn more
      </p>
    </>
  )
}

export default App
EOF
echo "Updated src/App.jsx successfully"
Now, if you check the status:
git status
Git will tell you that the file was modified.
Now, try running:
git diff
It shows you exactly what changed, i.e., what was removed and what was added. The + shows the added text, and the - shows the removed text.
Let’s commit the changes like we did before:
git add src/App.jsx
git commit -m "update the app title"
You’ve now committed the changes only to the feature branch. Your main branch is still chillin’ like nothing happened.
Let’s make another change. This time, we’ll increase the border-radius of the button from 8px:
38button {
39- border-radius: 8px;
40+ border-radius: 10px;
41  border: 1px solid transparent;
42  padding: 0.6em 1.2em;
43  font-size: 1em;
44  font-weight: 500;
45  font-family: inherit;
46  background-color: #1a1a1a;
47  cursor: pointer;
48  transition: border-color 0.25s;
49}
# Check if directory exists, create if needed
mkdir -p src
# Create modified App.jsx file with changed h1 tag
cat > src/index.css << 'EOF'
:root {
  font-family: system-ui, Avenir, Helvetica, Arial, sans-serif;
  line-height: 1.5;
  font-weight: 400;

  color-scheme: light dark;
  color: rgba(255, 255, 255, 0.87);
  background-color: #242424;

  font-synthesis: none;
  text-rendering: optimizeLegibility;
  -webkit-font-smoothing: antialiased;
  -moz-osx-font-smoothing: grayscale;
}

a {
  font-weight: 500;
  color: #646cff;
  text-decoration: inherit;
}
a:hover {
  color: #535bf2;
}

body {
  margin: 0;
  display: flex;
  place-items: center;
  min-width: 320px;
  min-height: 100vh;
}

h1 {
  font-size: 3.2em;
  line-height: 1.1;
}

button {
  border-radius: 10px;
  border: 1px solid transparent;
  padding: 0.6em 1.2em;
  font-size: 1em;
  font-weight: 500;
  font-family: inherit;
  background-color: #1a1a1a;
  cursor: pointer;
  transition: border-color 0.25s;
}
button:hover {
  border-color: #646cff;
}
button:focus,
button:focus-visible {
  outline: 4px auto -webkit-focus-ring-color;
}

@media (prefers-color-scheme: light) {
  :root {
    color: #213547;
    background-color: #ffffff;
  }
  a:hover {
    color: #747bff;
  }
  button {
    background-color: #f9f9f9;
  }
}
EOF
echo "Updated src/index.css successfully"
git add src/index.css
git commit -m "increase border radius"
You can make more changes and commit more times. Every commit is a checkpoint.
git merge
Once you’re happy with your new features, it’s time to bring them back into your app.
First switch to the main branch:
git checkout main
Then, “merge” your feature branch into main:
git merge feature
Follow the same steps as before on the GUI to switch back to the main branch from the feature branch.
And just like that, the new and improved vibes are part of your main project, and you are basically a Git wizard 🧙🏽♀️.
.gitignore File
So your feature is merged, your app is vibing… and then Git hits you with this:
...
modified: node_modules/globals/
modified: node_modules/has-flag/
modified: node_modules/ignore/
modified: node_modules/import-fresh/
modified: node_modules/imurmurhash/
modified: node_modules/is-extglob/
modified: node_modules/json-stable-stringify-without-jsonify/
...
NOTE
If you followed along locally, you might have already seen something similar.
Why is Git tracking 1000 files you never touched?
Because it is doing what it was told—track everything—unless you say otherwise. That’s where the .gitignore file comes in.
It’s a special file where you tell Git, “Don’t even look at these.”
In our case, the node_modules folder should never be tracked. So you can create a file named .gitignore in the root of the project and add:
node_modules
You can also ignore irrelevant system files like .DS_Store and sensitive .env files or any file you wouldn’t want to upload to the cloud. If you are unsure what to ignore, ask Cursor or use one of these templates as a starting point.
git remote
So far, we’ve been vibin’ locally. But at some point, you’ll want to connect your local project to GitHub, so you can back it up, share it, deploy it, and vibe with others.
First, create a new repository on GitHub.
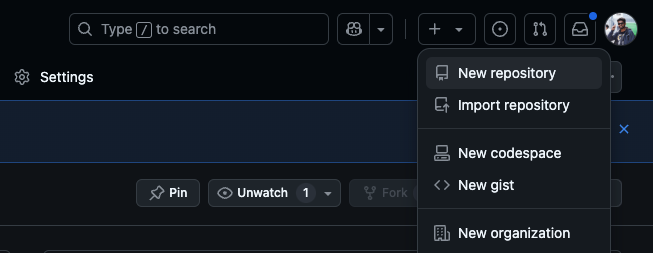
Go to github.com/new to create a new repository if you can’t find the right button.
Once you do, GitHub will show you a page with a bunch of helpful stuff.
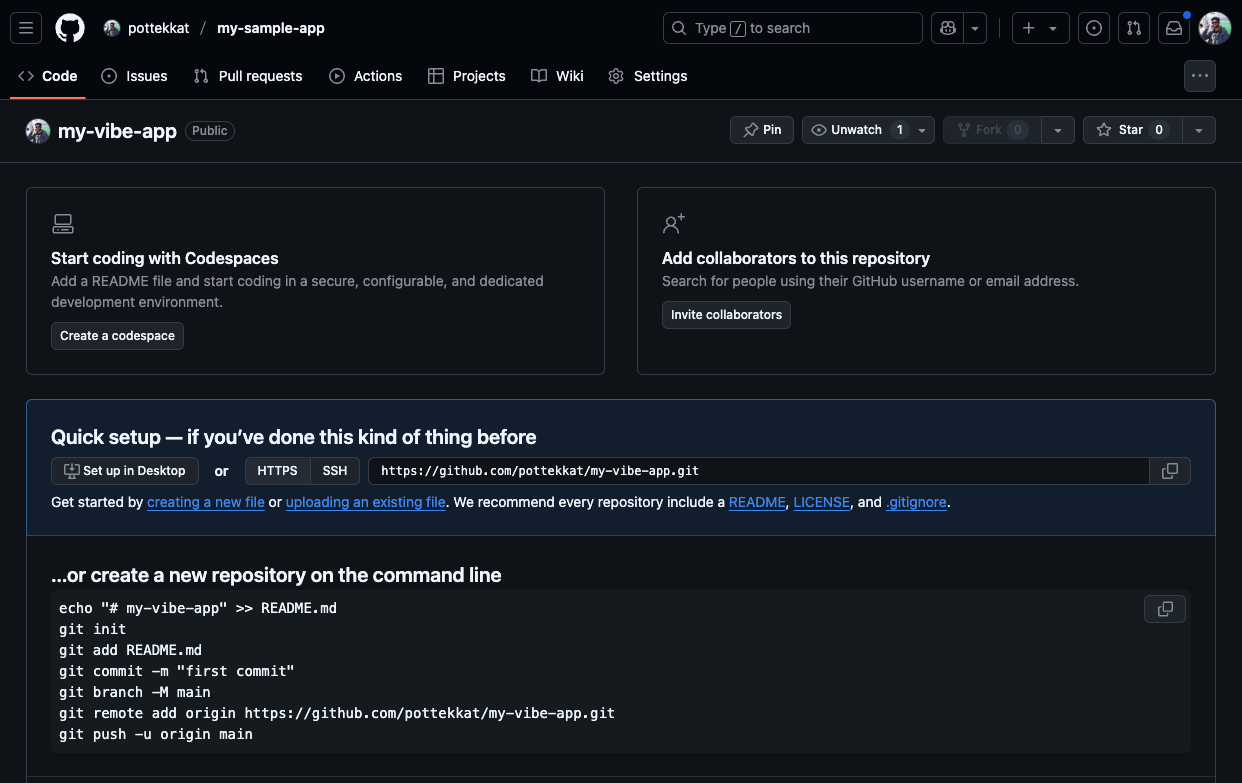
You can just follow the steps mentioned here to get started with Git.
Just copy the URL it gives you, something like:
https://github.com/pottekkat/my-vibe-app.git
Now head back to your terminal to connect your local project to this “remote” repository:
git remote add origin https://github.com/pottekkat/my-vibe-app.git
Here, origin is the nickname we give to the remote repository. You can call it whatever you want, but origin is the convention. The URL, as you might have guessed, is where Git will “push” your code to (and “pull” from).
You can check if it worked with:
git remote -v
Welcome to the internet!
git push, pull
Now that you have an origin remote established, you can use git push to send your local commits to GitHub:
git push -u origin main
This sends your main branch to the origin remote. The -u flag tells Git to set this as the default, so next time, you can just run:
git push
And Git will know where to push.
If all goes well, you’ll see your commits show up on GitHub, and others can now clone your project like we did earlier.
Similarly, if you or someone else makes changes and pushes to your GitHub repository, you can bring those changes into your local project with:
git pull
This downloads any new commits from remote and merges them into your local branch.
TIP
Always pull before you push.
Next Steps
This article has already gone on longer than your peak attention span. So, I now graciously concede your attention back to TikTok slop.
Here’s what you have learned so far:
- Clone a repository
- Configure Git
- Initialize Git in a project
- Check the Git status
- Stage files
- Commit changes
- Create new branches
- Merge two branches
- Create a
.gitignorefile - Configure a remote repository
- Push to and pull from a remote
There’s still more to learn, but this is enough to get by. To dive deeper, here are some excellent resources:
- Learn Git Branching: An interactive and intuitive playground that promises to teach you Git while having fun.
- Git Immersion: A longer guide that walks through the fundamentals of Git.
- Git by example: A hands-on browser-based playground similar to this one.
- Git Cheat Sheet: GitHub’s official Git cheat sheet for those “wait, what was that command again?!” moments.
- Dangit, Git!?!: Everyone eventually makes a mess with Git and don’t know what to do. This is for when you mess up but don’t know what or how bad you messed up.
- Flight rules for Git: This is similar to Dangit, Git!?! but is more comprehensive.
Or just keep using Git. You’ll eventually get the hang of it.