
LLMs are great at generating code. What they’re not so great at is running the code they generate. Claude Desktop literally says this after every code snippet:
Claude does not have the ability to run the code it generates yet.
This is by design. Giving these AI tools the power to run arbitrary code by default is a security nightmare. Even if it somehow isn’t, this is a problem with an infinitely large surface area, and you can’t really bake every possible runtime into an AI tool.
A better approach is to just let the LLM do what it does best and let your machine run the code it generates—but in safe and isolated sandboxes.
That’s Sandbox MCP. It’s a Model Context Protocol (MCP) server that enables LLMs to spin up tiny Docker containers, pass the code to execute, and return the output.
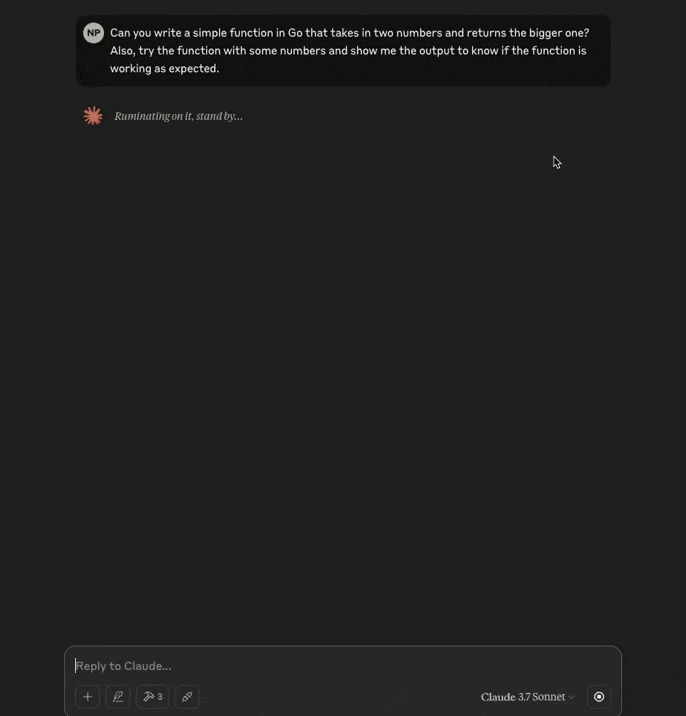
For example, here the LLM calls the go sandbox to run Go code, which spins up a Go Docker container to run the code and return the output.
There are even more use cases than just running code. It might be better to ask the LLM how to leverage Sandbox MCP for your specific context
With tools like Caude Desktop and Cursor already supporting the Model Context Protocol (MCP), you can now easily use Sandbox MCP to generate more accurate code in fewer iterations.
You are also not limited to the built-in sandboxes either. You can create your own. A general rule is that if it runs in Docker, it can be a sandbox.
In this article, I will show how to install, configure, and use Sandbox MCP to improve your LLM workflows.
Installing Sandbox MCP
Sandbox MCP is available for macOS, Linux, and Windows. You can find the correct binary for your operating system (for example, Darwin) and processor architecture (arm64) from the releases page.
That’s it. You are ready to go once you have downloaded the binary. But most users would benefit from also pulling and building the default sandboxes:
# Create the configuration directory in
# $XDG_CONFIG_HOME/sandbox-mcp and pull
# the default sandboxes from GitHub
sandbox-mcp --pull

# Build the Docker images for the sandboxes
sandbox-mcp --build
Using with MCP Hosts/Clients
Once you have the sandbox-mcp binary and have at least the default sandboxes ready, you can start using it with Claude Desktop (claude_desktop_config.json) or Cursor IDE (mcp.json) or any other MCP client. Just add the path to the sandbox-mcp binary in your configuration file:
{
    "mcpServers": {
        "sandbox-mcp": {
            "command": "path/to/sandbox-mcp",
            "args": [
                "--stdio"
            ]
        }
    }
}
NOTE
Replace
path/to/sandbox-mcpwith the actual path to the downloaded binary.
If you reopen your MCP client, you will see that the Sandbox MCP is available with all the default sandbox tools.
Now you can try a prompt. For example:
Using the Python sandbox MCP tool, create a script that generates a synthetic dataset with 100 points (x values spaced 0-10, y values following a sine wave with random noise, seed 42), analyzes it with pandas (print descriptive statistics), fits a polynomial regression model using x and x-squared features (print coefficients and intercept), evaluates model performance (calculate and print MSE and R² to 6 decimal places), saves results to CSV, shows file directory contents along with the first 5 lines of the saved CSV file, and ensure this all runs as expected using the tool and you get the desired response.
or something simpler!
This example uses the python sandbox tool to test the generated code in a Docker sandbox with the required Python libraries installed. After the code is run, the LLM gets the output, and the container is removed.
As I write this article, six default sandboxes are available, with more on the way. But you can also create your own sandboxes.
Creating Your Own Sandboxes
Creating a sandbox is easy.
First, create a new directory for your sandbox inside $XDG_CONFIG_HOME/sandbox-mcp/sandboxes. For example, let’s create a sandbox called my-sandbox:
mkdir $XDG_CONFIG_HOME/sandbox-mcp/sandboxes/my-sandbox
cd $XDG_CONFIG_HOME/sandbox-mcp/sandboxes/my-sandbox
A sandbox is essentially a Dockerfile and a JSON configuration. Both of these are used to create and configure the sandbox.
The my-sandbox sandbox will be a simple Linux environment with a few tools pre-installed. So its Dockerfile will look like this:
# Use a lightweight Debian image
FROM debian:12-slim

# Install some basic command line tools
# and remove the apt cache to save space
RUN apt-get update && \
    apt-get install -y --no-install-recommends \
        curl \
        git \
        vim \
        less \
        procps \
        iputils-ping \
        net-tools \
        iproute2 \
        dnsutils \
        openssl \
        ca-certificates && \
    rm -rf /var/lib/apt/lists/*

# Create a new non-root user named sandbox
RUN adduser --home /sandbox --disabled-password sandbox

# Switch to the sandbox user
# and set the working directory to /sandbox
USER sandbox
WORKDIR /sandbox
Then, build and tag the Docker image:
docker build --tag sandbox-mcp/my-sandbox:latest .
Now we have to create the JSON configuration file. This file contains the configuration for the sandbox, including the name and description, command to run, and container configuration.
For our example, my-sandbox, we will create aa config.json file with the following configurations:
{
  "name": "my-sandbox",
  "description": "A simple Linux sandbox.",
  "version": "0.1.0",
  "image": "sandbox-mcp/my-sandbox:latest",
  "user": "sandbox",
  "entrypoint": "main.sh",
  "timeout": 5,
  "command": [
    "sh",
    "main.sh"
  ],
  "parameters": {
    "additionalFiles": true
  },
  "security": {
    "readOnly": true,
    "capDrop": [
      "all"
    ],
    "securityOpt": [
      "no-new-privileges:true"
    ],
    "network": "bridge"
  },
  "resources": {
    "cpu": 1,
    "memory": 64,
    "processes": 64,
    "files": 96
  },
  "mount": {
    "workdir": "/sandbox",
    "tmpdirPrefix": "sandbox-mcp-",
    "scriptPerms": "0755",
    "readOnly": true
  }
}
Here’s what’s happening:
- The
entrypointis the file where the input from the LLM is stored to be executed as described bycommand. - The
timeoutis the execution time limit. This can be useful to prevent the sandbox from running indefinitely. - The
parametersproperty allows you to configure additional parameters for the sandbox tool. Here, we setadditionalFilestotrue, which allows the LLMs to pass additional files. Another valid value isfiles, which let’s you configure any required files which should be passed along with theentrypoint. See the go sandbox for an example. - The
security,resources, andmountproperties directly translate to Docker container configurations.
Once you have configured the sandbox, you can reload the MCP host/client application to apply the changes. You will see my-sandbox in the list of available tools.
There’s still a lot you can do with Sandbox MCP.
I’m continuously discovering new ways to use it to improve my own LLM workflows, and I suspect you will, too. Sandbox MCP is only two weeks old but is already quite powerful and practical.
If you build something cool with it, run into bugs, or have ideas for new features, I’d love to hear from you. You can send me an email at navendu@apache.org