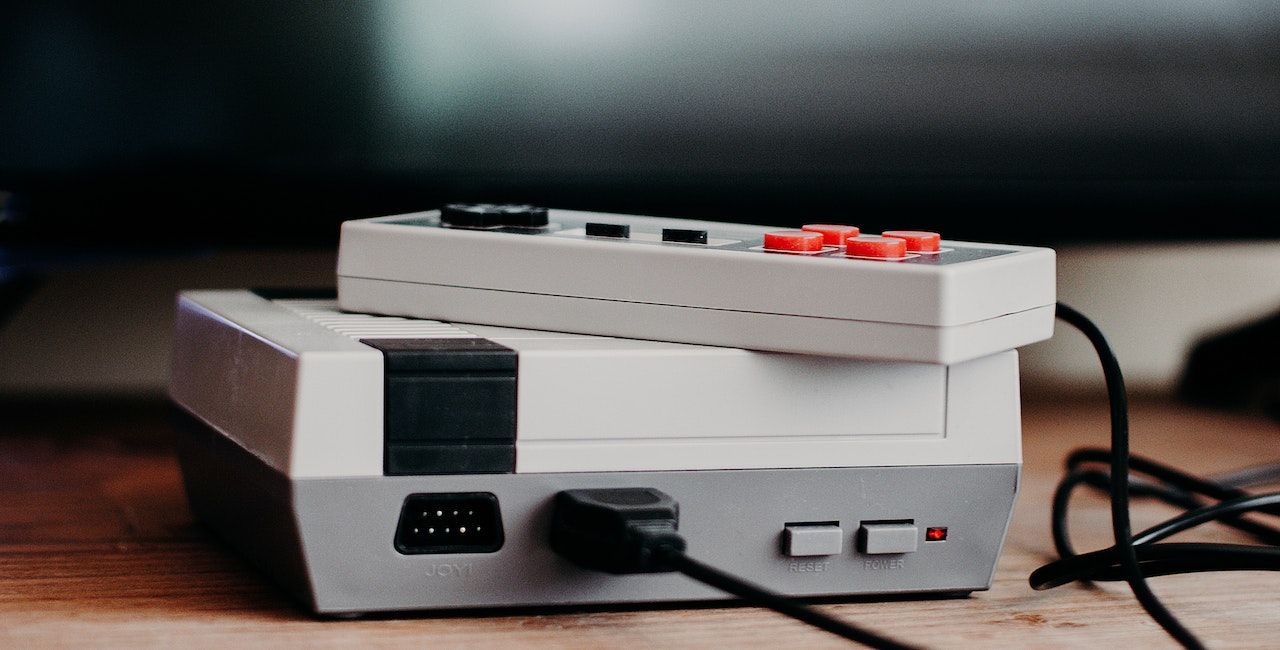

I was hit with a wave of nostalgia recently and decided to go back and play some of my favorite retro games (instead of buying a PS5). I remembered how much fun I used to have playing these games and wanted to experience that again.
I decided to use a Raspberry Pi, RetroPie, and a GPi CASE 2 to make my own handheld retro gaming device.
This tutorial will walk you through how I set all these up.
Before you move on, make sure you have:
- Raspberry Pi Computer Module 4 (Lite version with WiFi recommended)
- GPi CASE 2
- A Micro SD card (at least 16 GB) and an adapter
I will try to be comprehensive so that you don’t have to spend time searching for information elsewhere. I will include troubleshooting steps and additional resources to help you along the way. So let’s get started!
Inserting CM4 Into the GPi CASE 2
There is a best way to insert the Pi in the case:
- Take off the back cover by removing the five screws in the back
- Align the markings on the Pi and the case
- Click the Pi into place by applying even pressure
I tried inserting the Pi without removing the back cover, and it wasn’t inserted correctly. To ensure that you don’t damage anything, follow the abovementioned steps.
Writing the RetroPie Image to the SD Card
The easiest way to download and write the RetroPie image is by using Raspberry Pi Imager.
You can download the Raspberry Pi Imager and open it. Connect your SD card to your computer through the adapter (if needed). You are now ready to write the image.
In the Raspberry Pi Imager, select the operating system. Choose “Emulation and game OS”, “RetroPie”, and the “RetroPie 4.8 (RPI 4/400)” OS.
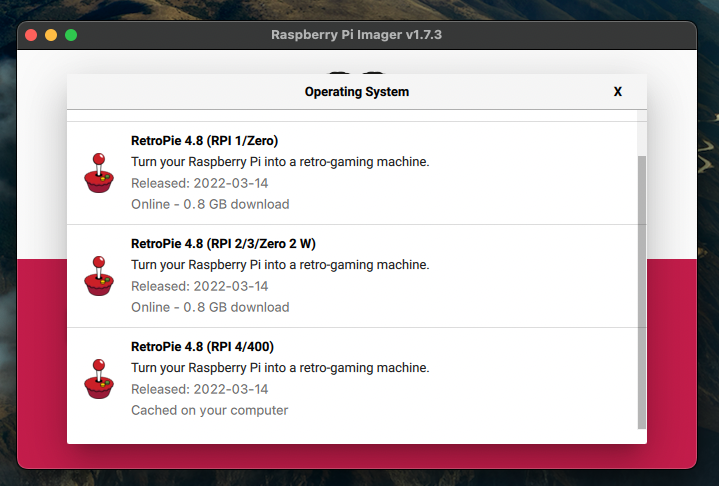
Make sure to choose the RPI 4/400 version
NOTE
Make sure to choose the one for RPI 4/400 if there is a newer version than 4.8.
Select your SD card from the “Storage” option and click on “Write”. It will take some time to download and write the image to your SD card. Grab a cup of coffee.
Installing Display Patch and Safe Shutdown
Since RetroPie defaults output to HDMI, we have to install a patch to transfer the display output to the GPIO pins.
Once you have the RetroPie image written to your SD card, you can install this patch.
Download the patch from the Retroflag website and extract it on your computer and follow the steps below:
- From the SD card, make a backup of
config.txton your computer. You can revert to this config if you mess things up. - Copy the contents of the
GPi_Case2_patch_retropiefolder to the SD card. - If you are on Windows, click on
install_patch.bat, and it will install the patch. - If you are on Linux or macOS, copy the contents of the
GPi_Case2_patch_retropie/patch_filesfolder to the SD card. The files in thepatch_files/overlaysfolder should go in theoverlaysfolder on the SD card.
Next, you need to configure safe shutdown. To make our lives easier and not type out the command in the GPi CASE, you can create a script.
Create a new file on the SD card named gpi.sh and add the following content to the file:
wget -O - "https://raw.githubusercontent.com/RetroFlag/GPiCase2-Script/main/retropie_install_gpi2.sh" | sudo bash
Configuring WiFi Credentials
Running the gpi.sh script will pull some files from the internet. So, you need to set up WiFi on your GPi CASE.
To do this easily, you can create a new file called wifikeyfile.txt and add the following:
ssid="name of your WiFi (case sensitive)"
psk="your WiFi password"
NOTE
If your Raspberry Pi does not have WiFi, you can see this Reddit post for workarounds.
First Boot
With your SD card configured, you can disconnect it from your PC and insert it into your GPi CASE.
Before turning it on, connect it to power to ensure the battery does not die on the first boot.
The first boot will take longer (a couple of minutes at least) than usual. Be patient, and don’t worry.
Once it is ready, RetroPie will walk you through some configurations you can follow on the screen.
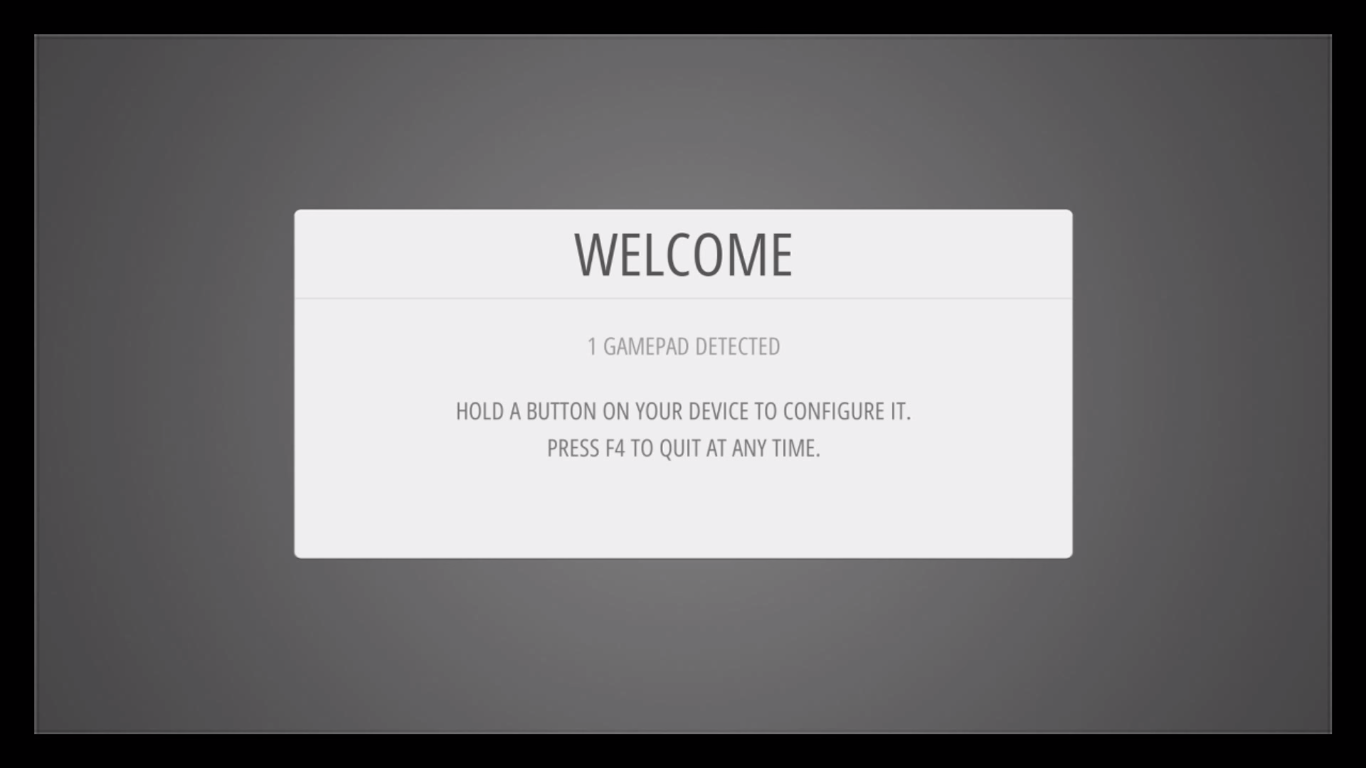
Follow the instructions on the screen to configure controls
Set Up WiFi
You are not ready to play games yet!
Go to the RetroPie configuration menu from the home screen and scroll down to WiFi.
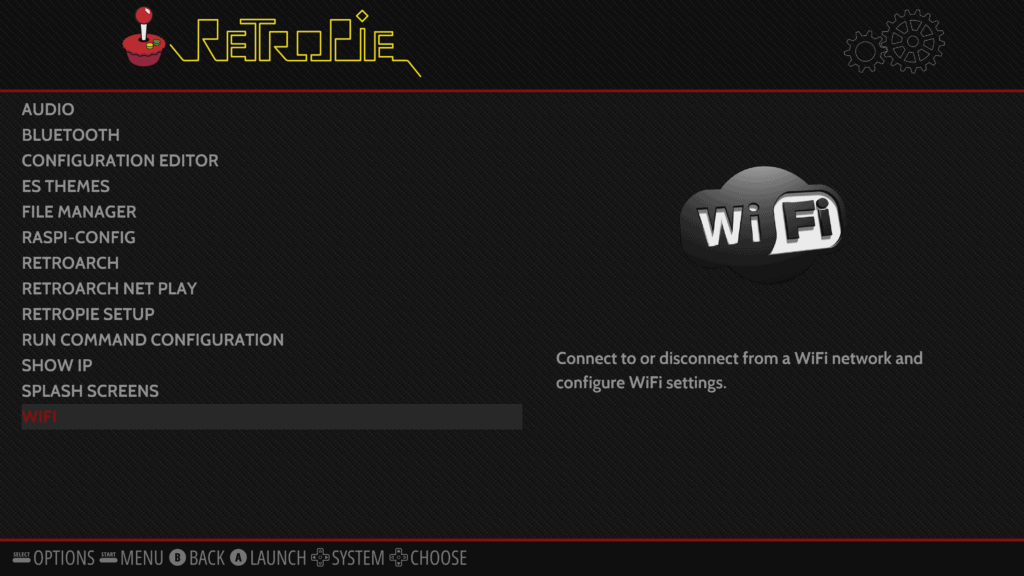
For more information on all the configuration options, see the RetroPie website
Once you go into the WiFi configuration menu, you will see a message saying that you don’t have your WiFi country set.
Select “Yes”, and in the following menu, choose your country from “Localisation Options”.
You can then save and exit, and RetroPie will prompt you to reboot the device.
Once you reboot the device, you can connect to your WiFi.
Now, if you go to the WiFi configuration menu, you will see an option to “Import WiFi credentials from /boot/wifikeyfile.txt”. Select it and wait for some time.
You will see that the WiFi is connected, and you can exit the menu.
Running the Safe Shutdown Install Script
In your RetroPie configuration menu, select “File Manager”.
Go back twice to reach the root and navigate to the /boot folder. Scroll down, find the gpi.sh file, and run it. It will install the safe shutdown scripts, and the Pi will reboot.
To test if the scripts are running, try turning off through the hardware switch, and you will see a shutdown message.
That’s it! You are all ready to install some retro games and play. You should be easily able to find ROMs by searching the internet. Some of these are pirated, so sharing the sites is not super legal.
I’m currently obsessed with Pokemon FireRed. Gotta catch’em all!
Troubleshooting
If you frequently see an error message like “failed to find mixer elements!", see this fix by Alan Pfahler.
If you are trying to configure audio and are running into issues, you can see this thread on the RetroPie forum.