

I’ve been writing blogs for almost three years now. Recently, I’ve been putting a lot of effort into building and maintaining my blog. This article documents my blog setup and my writing process from idea to publishing.
Let’s first get the nerd stuff out of the way and look at how my blog is set up.
The Setup: Hugo, GitHub, and Netlify
I use Hugo, the static site generator, to build my blog. Hugo is fast and heavily customizable with reasonable defaults. It handles a lot of boilerplate stuff, so people like me can focus on the content.
I’m awful at building UI from scratch, so I use a theme. I have added some custom features and changed the look slightly for it to be more me.
I like the way the site looks. I talked to my readers about the look and feel of the site, and they seem to like the minimalist approach.
I push this site’s code and content to a GitHub repository. This repository is open source. When adding new posts, I usually make a pull request. This is to trigger a preview build that other reviewers and I can verify and comment on.
Preview builds? What is that? That’s where Netlify does its magic.
I use Netlify to deploy my site. I’m on the free tier, and it seems to be enough. But I will use it even if I have to pay for it.
Netlify watches for pushes to my main branch and triggers a deployment. It also has a deploy preview feature which builds a preview for the website when you open a pull request against the main branch.
So, after writing a new post, I make a pull request, and Netlify builds a preview. Reviewers can make suggestions on the PR before merging it and publishing it on the site.
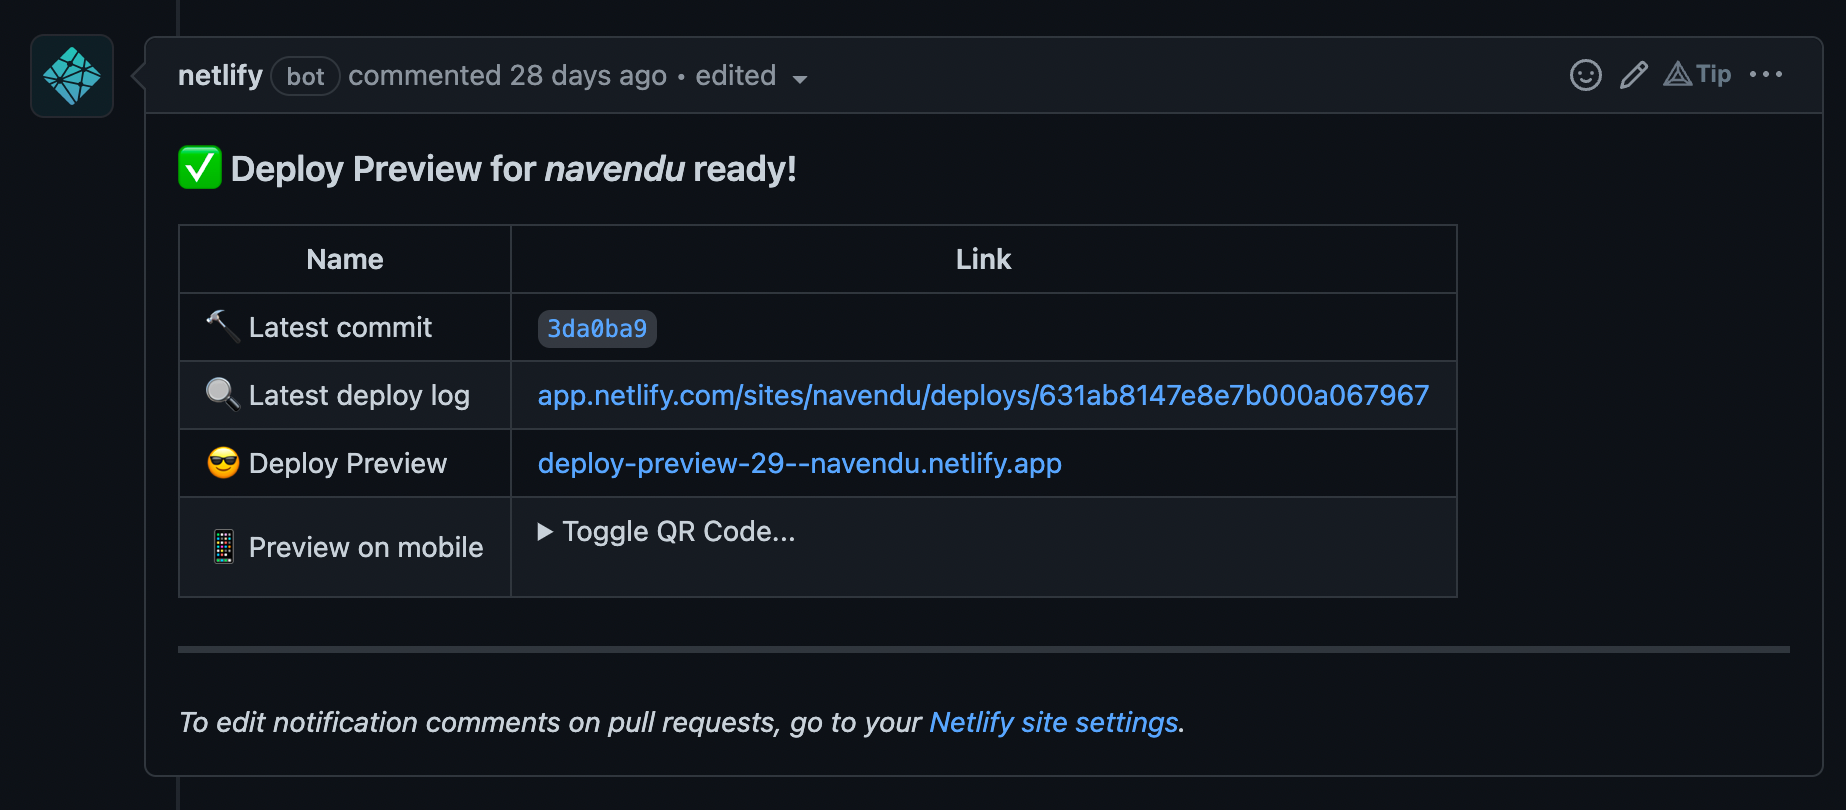
Deploy previews make my life much easier. See comment
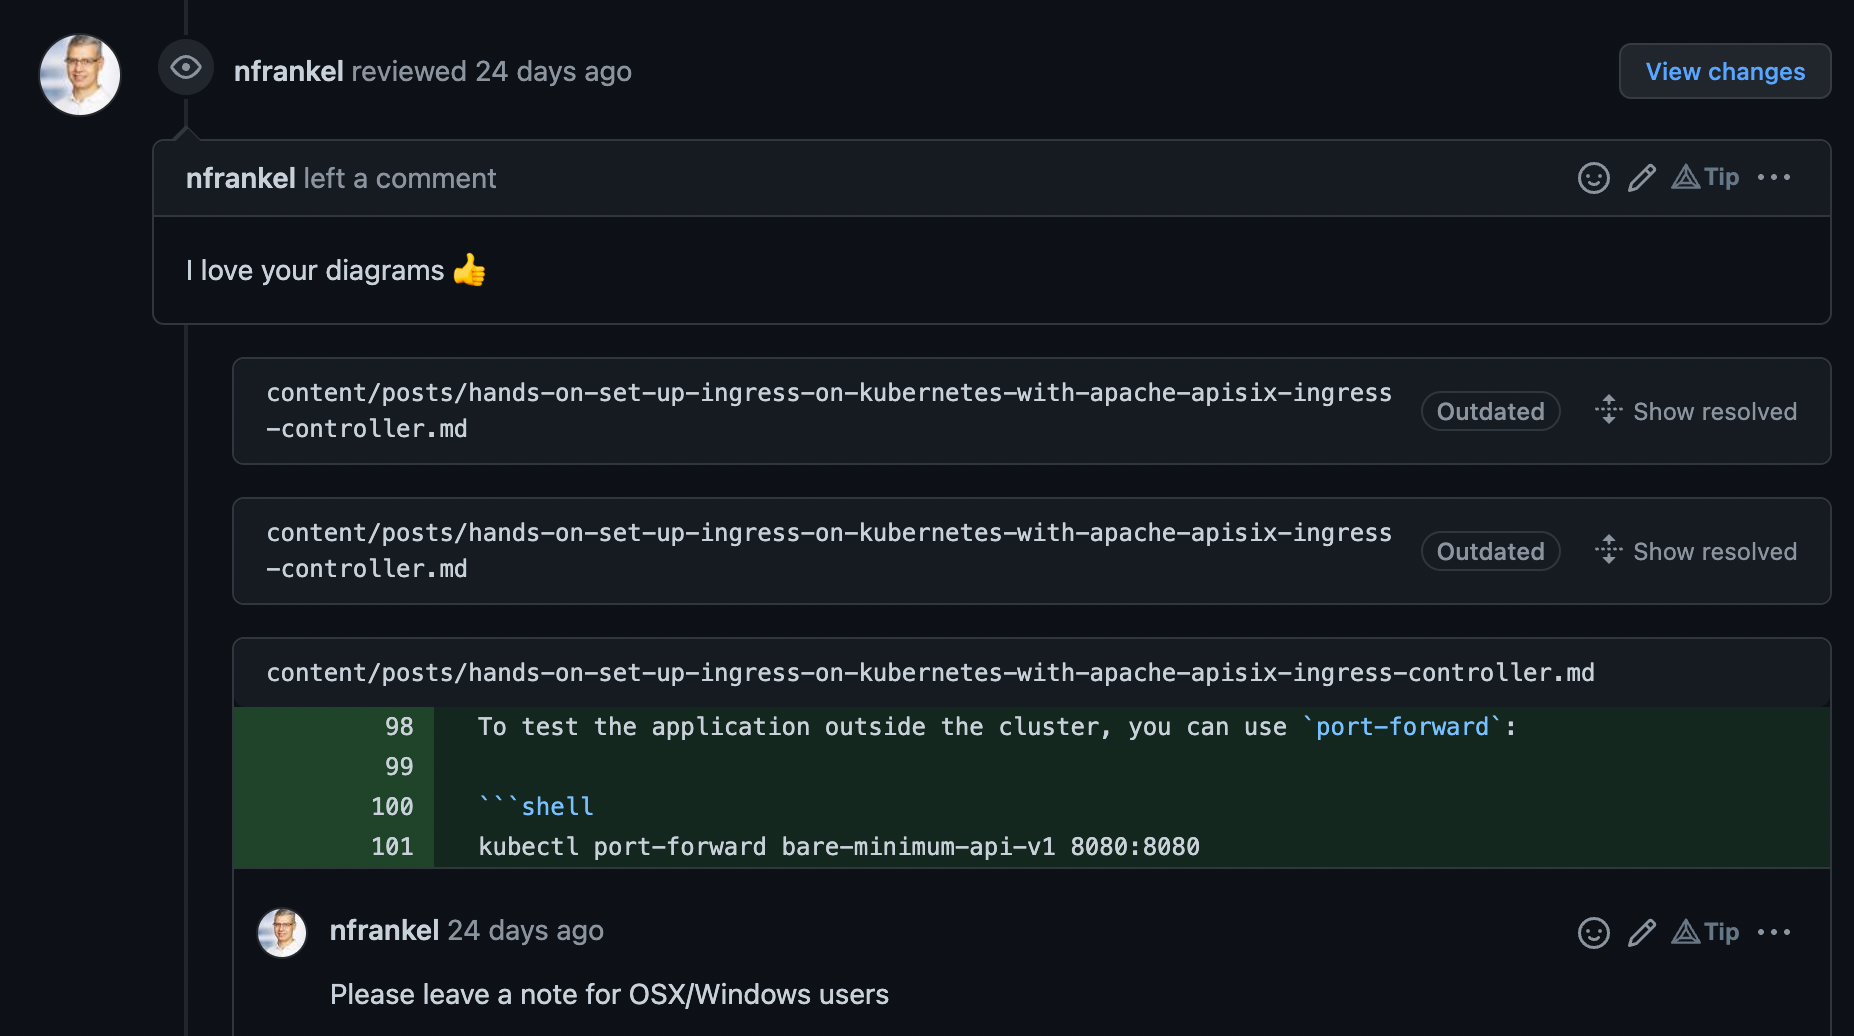
I also love my diagrams! See comment
Netlify has many more features like DNS management and A/B testing, but I haven’t tried them till now.
The Tools: VS Code, Shortcodes, hbt
I’m only as good as my tools. I’m much faster and write much easier with these tools.
Visual Studio Code is my CMS. I write on the code editor, and it feels natural.
I’ve tried different open source CMS platforms, but none seem easy to migrate to. I have a non-trivial blog setup, making it non-trivial to migrate to these platforms. And I’m lazy to put in the work to make the switch.
But, to make my life easier, I use some tools and configurations.
My site contains two types of posts; the regular blog posts shown on the homepage and daily logs. Each of these posts has a custom front matter. I have configured archetypes to create new files with these front matters easily.
This makes it easy to create new posts. A new file is created and configured; I just have to worry about the content.
But the coolest configurations I have are custom shortcodes and snippets. Hugo supports shortcodes which are placeholders for custom templates. It lets me add images, code, quotes, and even raw HTML directly into markdown files which will be appropriately formatted on render.

This shorcode is for creating diagrams using Mermaid
To use these shortcodes easily, I have configured custom snippets on VS Code to add shortcodes with appropriate tab stops automatically.

Notice how I can just hit TAB and it jumps to the next configuration
But, there are limits to what I can achieve with VS Code alone. So, I built a custom CLI to create files to write content and folders to store static content. I call it hbt—Hugo Blog Tool.
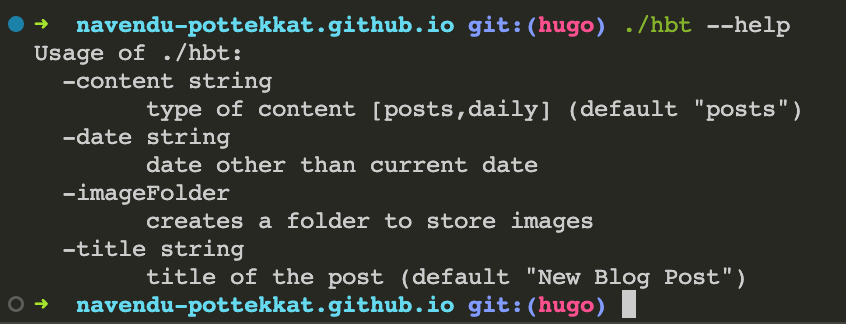
It ain’t much, but it’s honest work
It creates new files with the correct front matter and matching folders to store images—for now. I plan to add more features to it as I need them in the future. It is written in Go.
With this setup and tools, I start writing.
The Process: Eliciting, Planning, and Writing
As I mentioned before, I write two types of posts on this blog. The regular posts on the homepage and daily logs.
For daily logs, I keep a blank page open on my computer from the start of the day. I write on it and add things I find during the day. By the end of the day, I will have some rough content which I rewrite crudely to form a daily log.
I want to write it every day, but I have learned to give myself some slack if I have other important things to do.
For my regular blogs, I follow a process:
- First, I find topics to write about. When I find one, I immediately add it to my notes. I have been doing this for a few months and have a lot of topics in hand. So, if I want to write, I go through my collection and figure out what I want to write about.
- Once I have a topic, I create a page for it and add points. It would just be a dump of my thoughts which I will articulate when I actually start writing the post. I return to this dump to dump more ideas as I get them.
- I have a calendar planned for two weeks ahead. I plan what to write about and when to publish it. Currently, I post a new article every Friday and a newsletter issue every other Friday. So, I have two weeks worth of posts and newsletters ready or almost ready.
- When writing, I articulate all my thoughts from the dump and try to connect ideas. Once I write the article, I rewrite it on VS Code. Yes, I type it again. This helps me find errors and review the post before publishing.
- Once I’m done, I open a pull request to my repo which will trigger the deploy preview, and I will share the preview with my reviewers.
Writing a lot has helped me improve my writing. It has helped me develop my style and express my thoughts.
Turning writing into a process may seem like it hinders creativity. But it is quite the opposite. When you are in the process, you will get conditioned to write. When you write, you write. It is much easier than winging it, especially if you are starting.
I will try to keep this post updated as my writing process and setup evolve.